
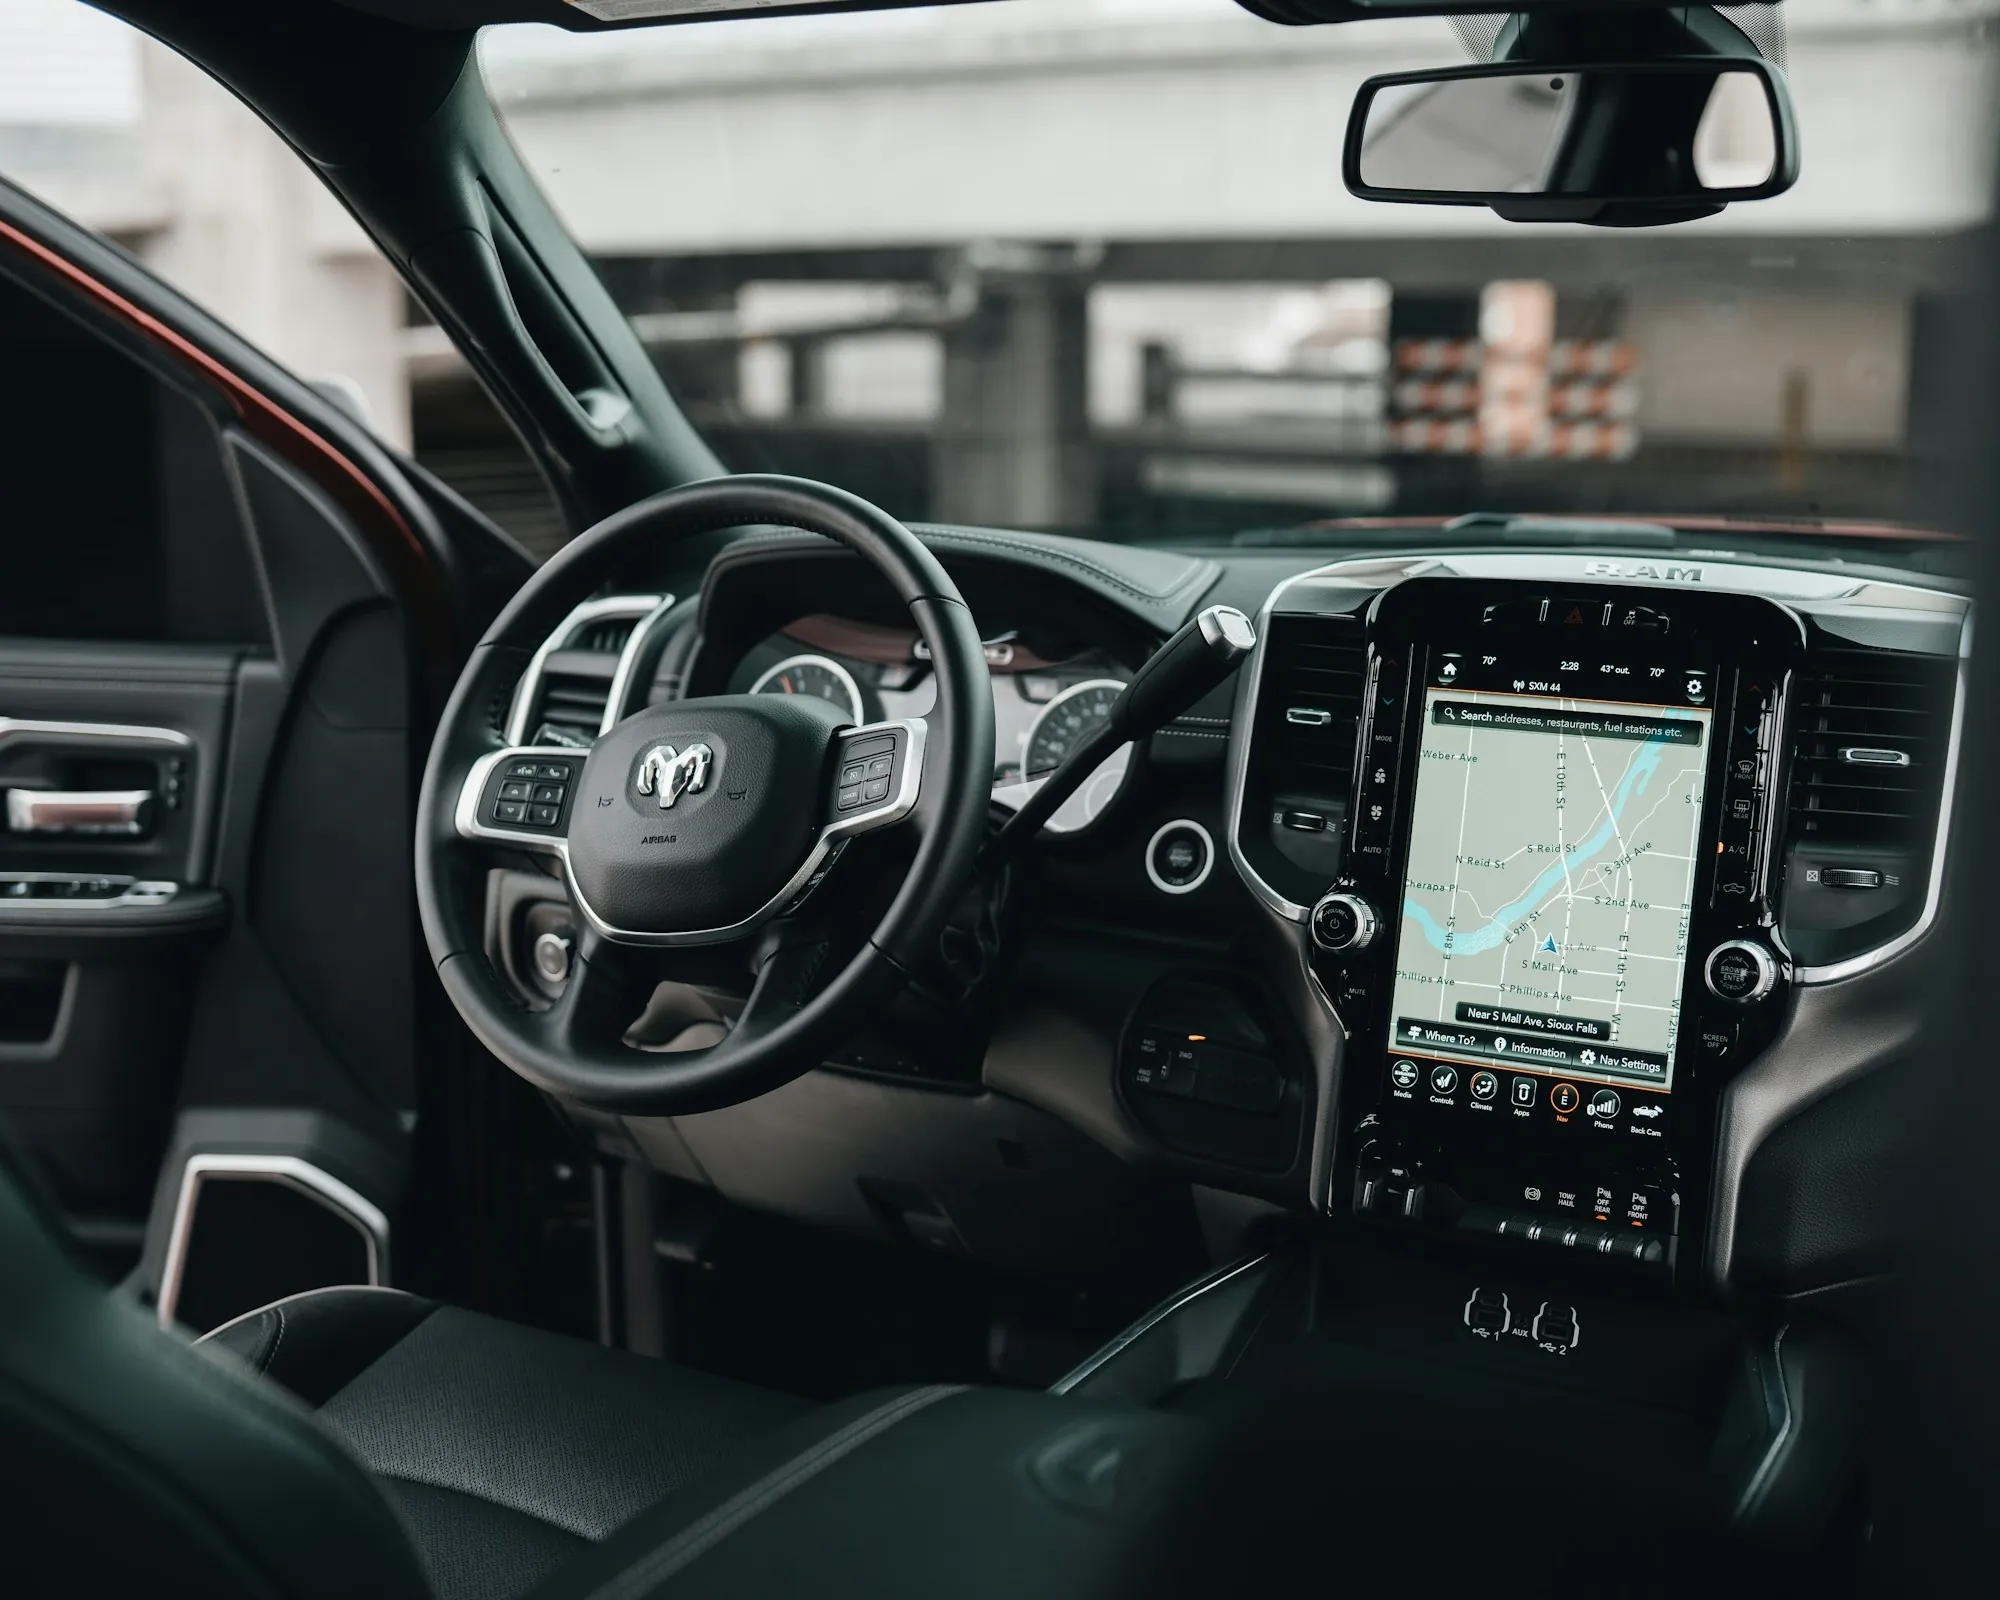
Driver-assist systems
ADAS Calibration in Sachse for Cameras and Radar
Your commute on the Bush Turnpike probably leans on adaptive cruise and lane-keep more than you notice. After a repair, those systems need to be checked and recalibrated before the car goes home.
Ask how calibration fits your repair — (000) 000-0000Why Sensors Need Attention After a Repair
Modern cars watch the road through a forward camera behind the windshield, radar units behind the bumper and sensors in the mirrors or rear corners. A minor bump, a new bumper cover or a windshield replacement can shift those sensors by a small amount. Small is enough to matter, because a camera aimed a degree off reads the lane lines in the wrong place. That affects lane-keep, blind-spot monitoring, adaptive cruise and automatic braking. We handle calibration as part of the repair plan instead of leaving it as a loose end, with a scan before work starts and a recalibration and scan before delivery. You get a printed record of what was checked, so there are no open questions when you pick up.
What a Calibration Visit Covers
Calibration is a checklist job, and this is the checklist we work from on every car.
Pre-repair diagnostic scan
We read every module before teardown so stored fault codes and disabled systems are on record from the start.
Forward camera aiming
The windshield camera is recalibrated with targets placed at the distances and heights the maker specifies.
Front radar alignment
The radar behind the grille or bumper is aimed so adaptive cruise and automatic braking measure distance correctly.
Blind-spot and rear sensor checks
Corner radar units in the rear bumper are verified and recalibrated after any work near them.
Setup conditions confirmed
Tire pressure, ride height and fuel load are set before calibration, because each one changes how the car sits.
Static or dynamic, as required
Some systems calibrate in the bay with targets, others on a road drive at set speeds, and some need both.
Post-repair scan
A final scan confirms every module reports clear and no warning lights remain on the dash.
Records for you and the insurer
Scan reports and calibration results are saved to the file so the adjuster sees what was done and why.
How Calibration Fits the Repair Plan
- Step 1
Scan first
The first scan happens before anything is taken apart. It tells us which driver-assist systems the car has and whether any were already reporting faults. Those results go into the estimate, so calibration time is planned from the start rather than added later.
- Step 2
Repair, then set up
Bumpers, mirrors, glass and brackets go back on first, since calibration has to happen on the finished car. We set tire pressures, check ride height and position the targets. Then each camera and radar is calibrated to the maker's procedure.
- Step 3
Verify and wrap up
A road drive on Miles Road and the turnpike confirms lane-keep and adaptive cruise respond as they should on real lane markings. The post-repair scan comes next, and the reports go into your file. When everything checks out, you get a call to set a pickup that works for you.
Why Plan Calibration With Us
No loose ends at pickup
Calibration is built into the timeline instead of sending you to a second shop afterward. One drop-off, one pickup.
Procedures, not guesses
We follow the steps each automaker publishes for its systems, including the setup conditions that are easy to skip.
Documentation that answers questions
Scan and calibration reports show exactly what was done. That helps with your claim and with any question that comes up later.
Questions About a Warning Light or a New Windshield?
Tell us what was repaired and which driver-assist features your car has, and we will explain what needs checking. From there, we fold calibration into a plan with a clear pickup date.
(000) 000-0000 — talk through your sensors